I wanna show you guys my Beltronics STi-R Plus install that I did on my 2012 Hyundai Sonata. These pics are all from a post few years back in 2012 when I still had the car (the lease has expired since), but I feel this would be great to share nonetheless. 🙂
The install was a lot of fun, it turns out. I was a bit intimidated before I got it, wondering how I was going to mount the antenna in the grill. It turns out it was a super easy install. 🙂 One thing I didn’t realize is how many cables there are! I’ve got the main box and all the cables tucked in underneath the center of the dash, to the right of where the pedals are.
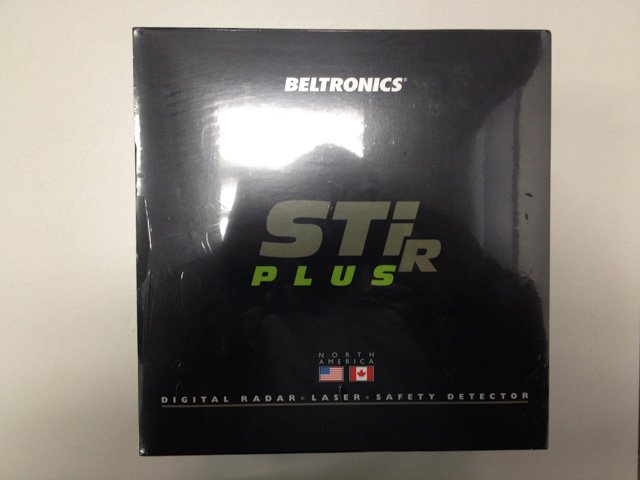
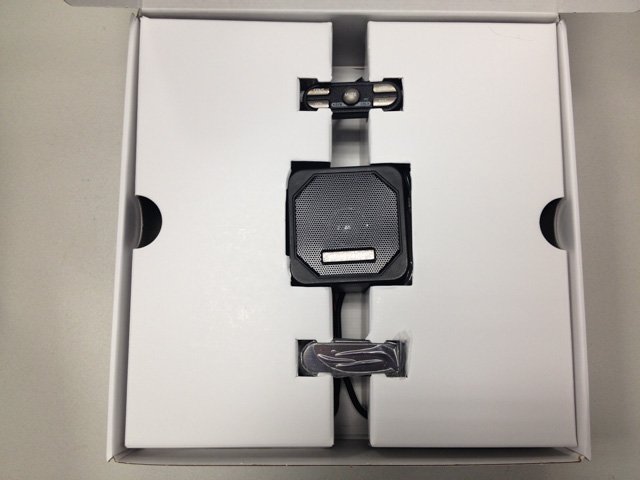
Unboxing
Let’s go through the install, starting with the unboxing! 🙂
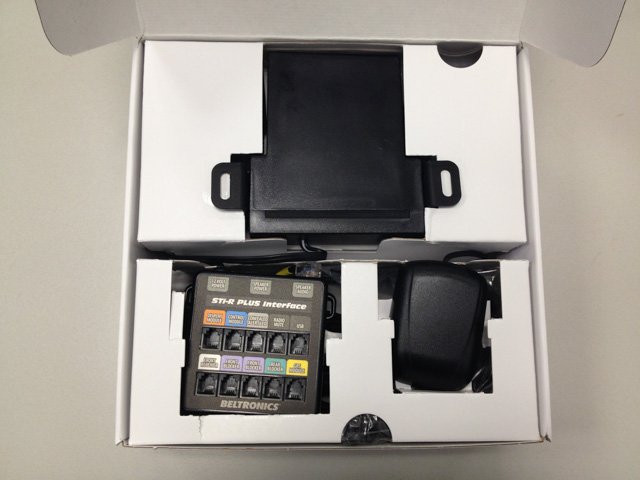
There’s a bunch more cables, zip ties, mounts, and other goodies tucked underneath the white cover flaps.
Display & Controller Installation
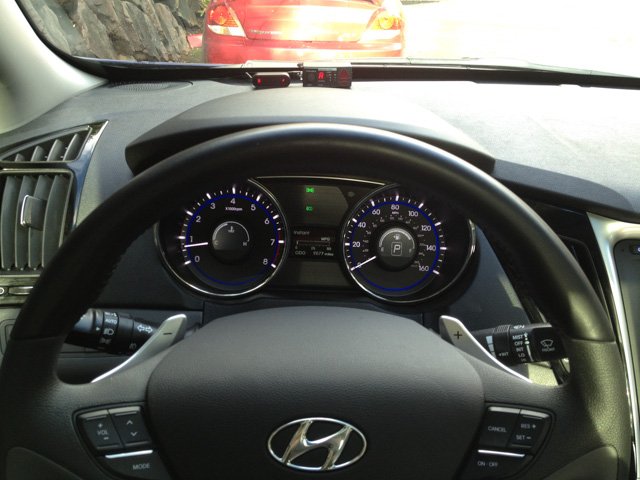
It’d be nice to put the display in my instrument cluster along with the V1 CD, but I found that they’d either cover up important icons on the dash and/or the steering wheel itself would obscure the displays. So I opted to put both displays on the dash right in my line of sight. It’s easy to see with the tiniest glance, I don’t have to refocus my eyes as I would if it was closer, and I like having both the frequency info and arrows side by side. Much nicer than having to look over at my phone near the center console to see the frequency from the Redline/Escort Live.
I used to have the V1 CD sitting atop two squares of 3m velcro mounts, but it raised it up and there was a light gap underneath I didn’t like. So I switch now to a single strip of doublestick tape underneath both so now the displays are lower and more flush, and a smidge tinier and less obtrusive.
The STi-R Plus display uses a rolling LED display so you can see them cycling in camera. (basically decreases the brightness by rapidly flickering them on and off. You can’t see it with your eyes, but it does make pictures look weird with certain sections of the display on and off.)
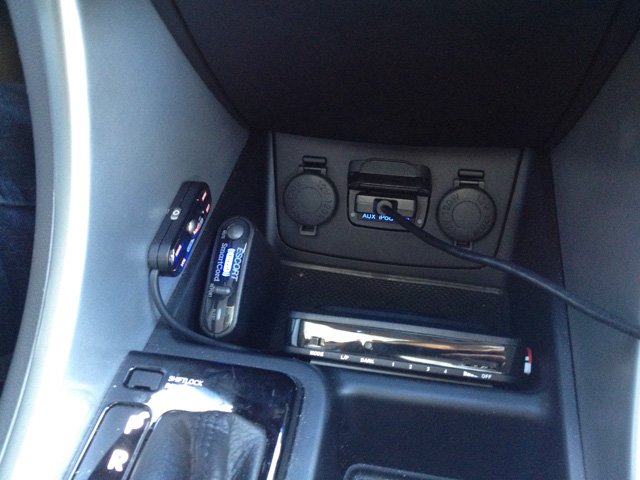
The controls I’ve hidden from the driver’s view alongside my Redline’s EL controls and the HP-905 CPU.
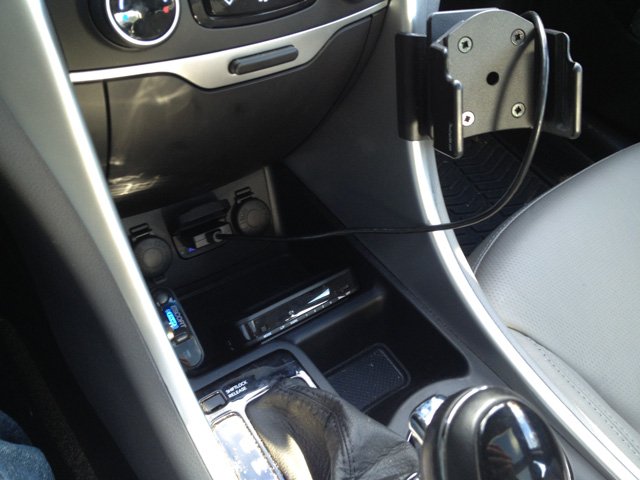
If you look around from the passenger side, you’ll see the Plus controls that I can access by touch alone. The mute buttons for the Plus and the Redline I can access all in one go which is nice for locking out falses.
(by the way, a big thank you to Blinder Guy for sending me a free upgraded Blinder CPU (and covering shipping both ways too) since my CPU was one of those affected by the 125pps issue.)
GPS Antenna Installation
The GPS was one of my favorite parts of the install. Googling around the other night to see other people’s installs and getting suggestions and ideas, I read about one guy installing his GPS antenna under the dash panels so it’s hidden and out of view and yet he still gets good reception.
I tried installing it in the trunk at first, and loved the fact that the antenna has a magnetic base so it’s easy to mount right onto the car. In the trunk, I don’t get reception for the antenna.
So what I did instead was fold down the back seats, unscrew the plastic panel covering the rear dash, whatever it’s called, and running the GPS up and underneath. It magnetically holds itself in place on the metal there and is covered by a thin piece of trim cover. With this install, I get great reception and it’s hidden out of the way. 🙂
Here’s an illustration of where I put the GPS antenna.
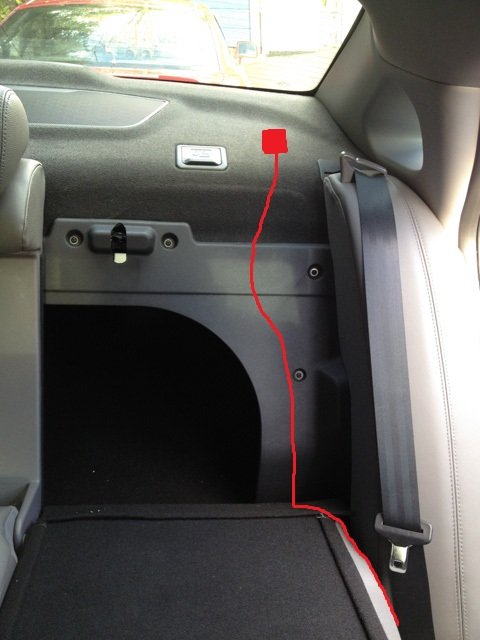
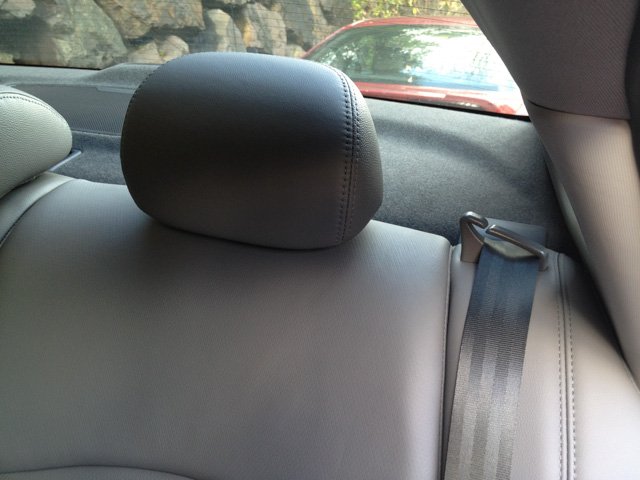
and here’s how it looks installed. 😉
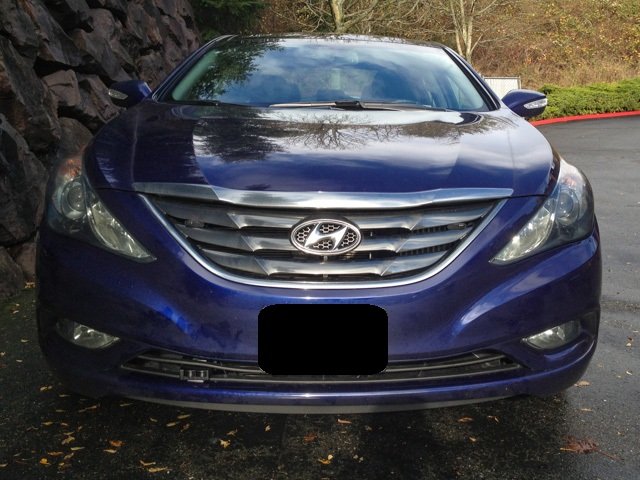
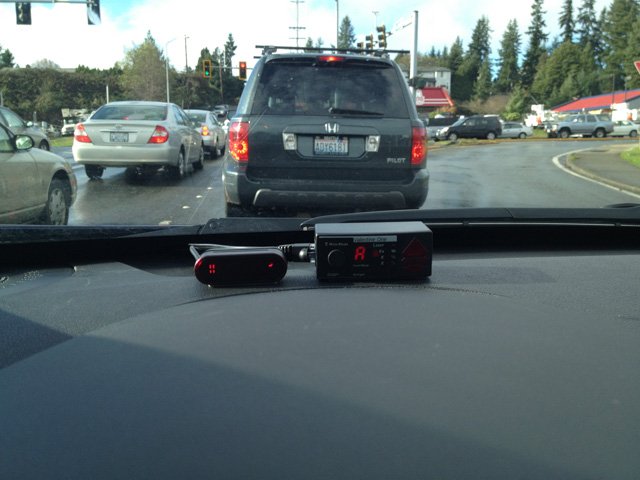
Installing the Radar Detector head in my grill
As for the exterior, originally I was going to try to put the car up on a jack, remove some panels under the car, and then screw the antenna with the included bracket somewhere to the interior of the car. I’m new to this so I didn’t really like that idea.
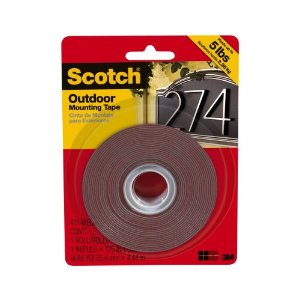
Thank you to you guys for this thread on mounting tape. I picked up a roll of Scotch 5lb outdoor mounting tape from Home Depot for $5.
The install for the antenna was basically just clean off the location on the grill, add a strip of tape to the bottom of the grill where the antenna will guy, add 5 layers of tape just in front of the mounting area to support the front of the antenna and help keep it level, then install it in place.
There’s a plastic piece just above the antenna that helps press it down in place even more. It does bow up a bit and I wish it was more flat and level for cosmetic reasons, but I’m cool with it. 🙂

The tape is gray which does show a little bit so now that it’s all secured and in place, I’d like to go out with a sharpie to color the tape and darken it for that much more stealthiness.
Here’s a shot of the front of the car with the Plus antenna and the 905 heads in the grill.
The cables for the antenna were a piece of cake to run. No bumper removal necessary. I simply ran them down the front of the bumper. There’s a panel cover at the bottom of the engine bay that forms this trench that you can easily run the cable in. Run the cable back along with the 905 heads, through the firewall, and plug into the control unit.
Pretty simple install! and a lot of fun! 🙂
I purchased my STi-R Plus here.
| This website contains affiliate links and I sometimes make commissions on purchases. All opinions are my own. I don’t do paid or sponsored reviews. Click here to read my affiliate disclosure. |

